Migrating from Google Sheets
This guide walks you through moving your coaching business from Google Sheets to Assistant Coach. Most coaches complete the migration in one to two weeks without any technical background.
Before you start
You'll need:
- Your Google Sheet with client names and emails
- Your Google Form questions (intake and check-in) for reference
- Any custom exercises you've created (if you track these in a spreadsheet)
- One focused evening for the initial setup
Step 1: Import your clients
Instead of adding clients one by one, upload your entire roster at once.
- Open your Google Sheet and export the client list as a CSV file (File → Download → Comma-separated values)
- Make sure the file has two columns:
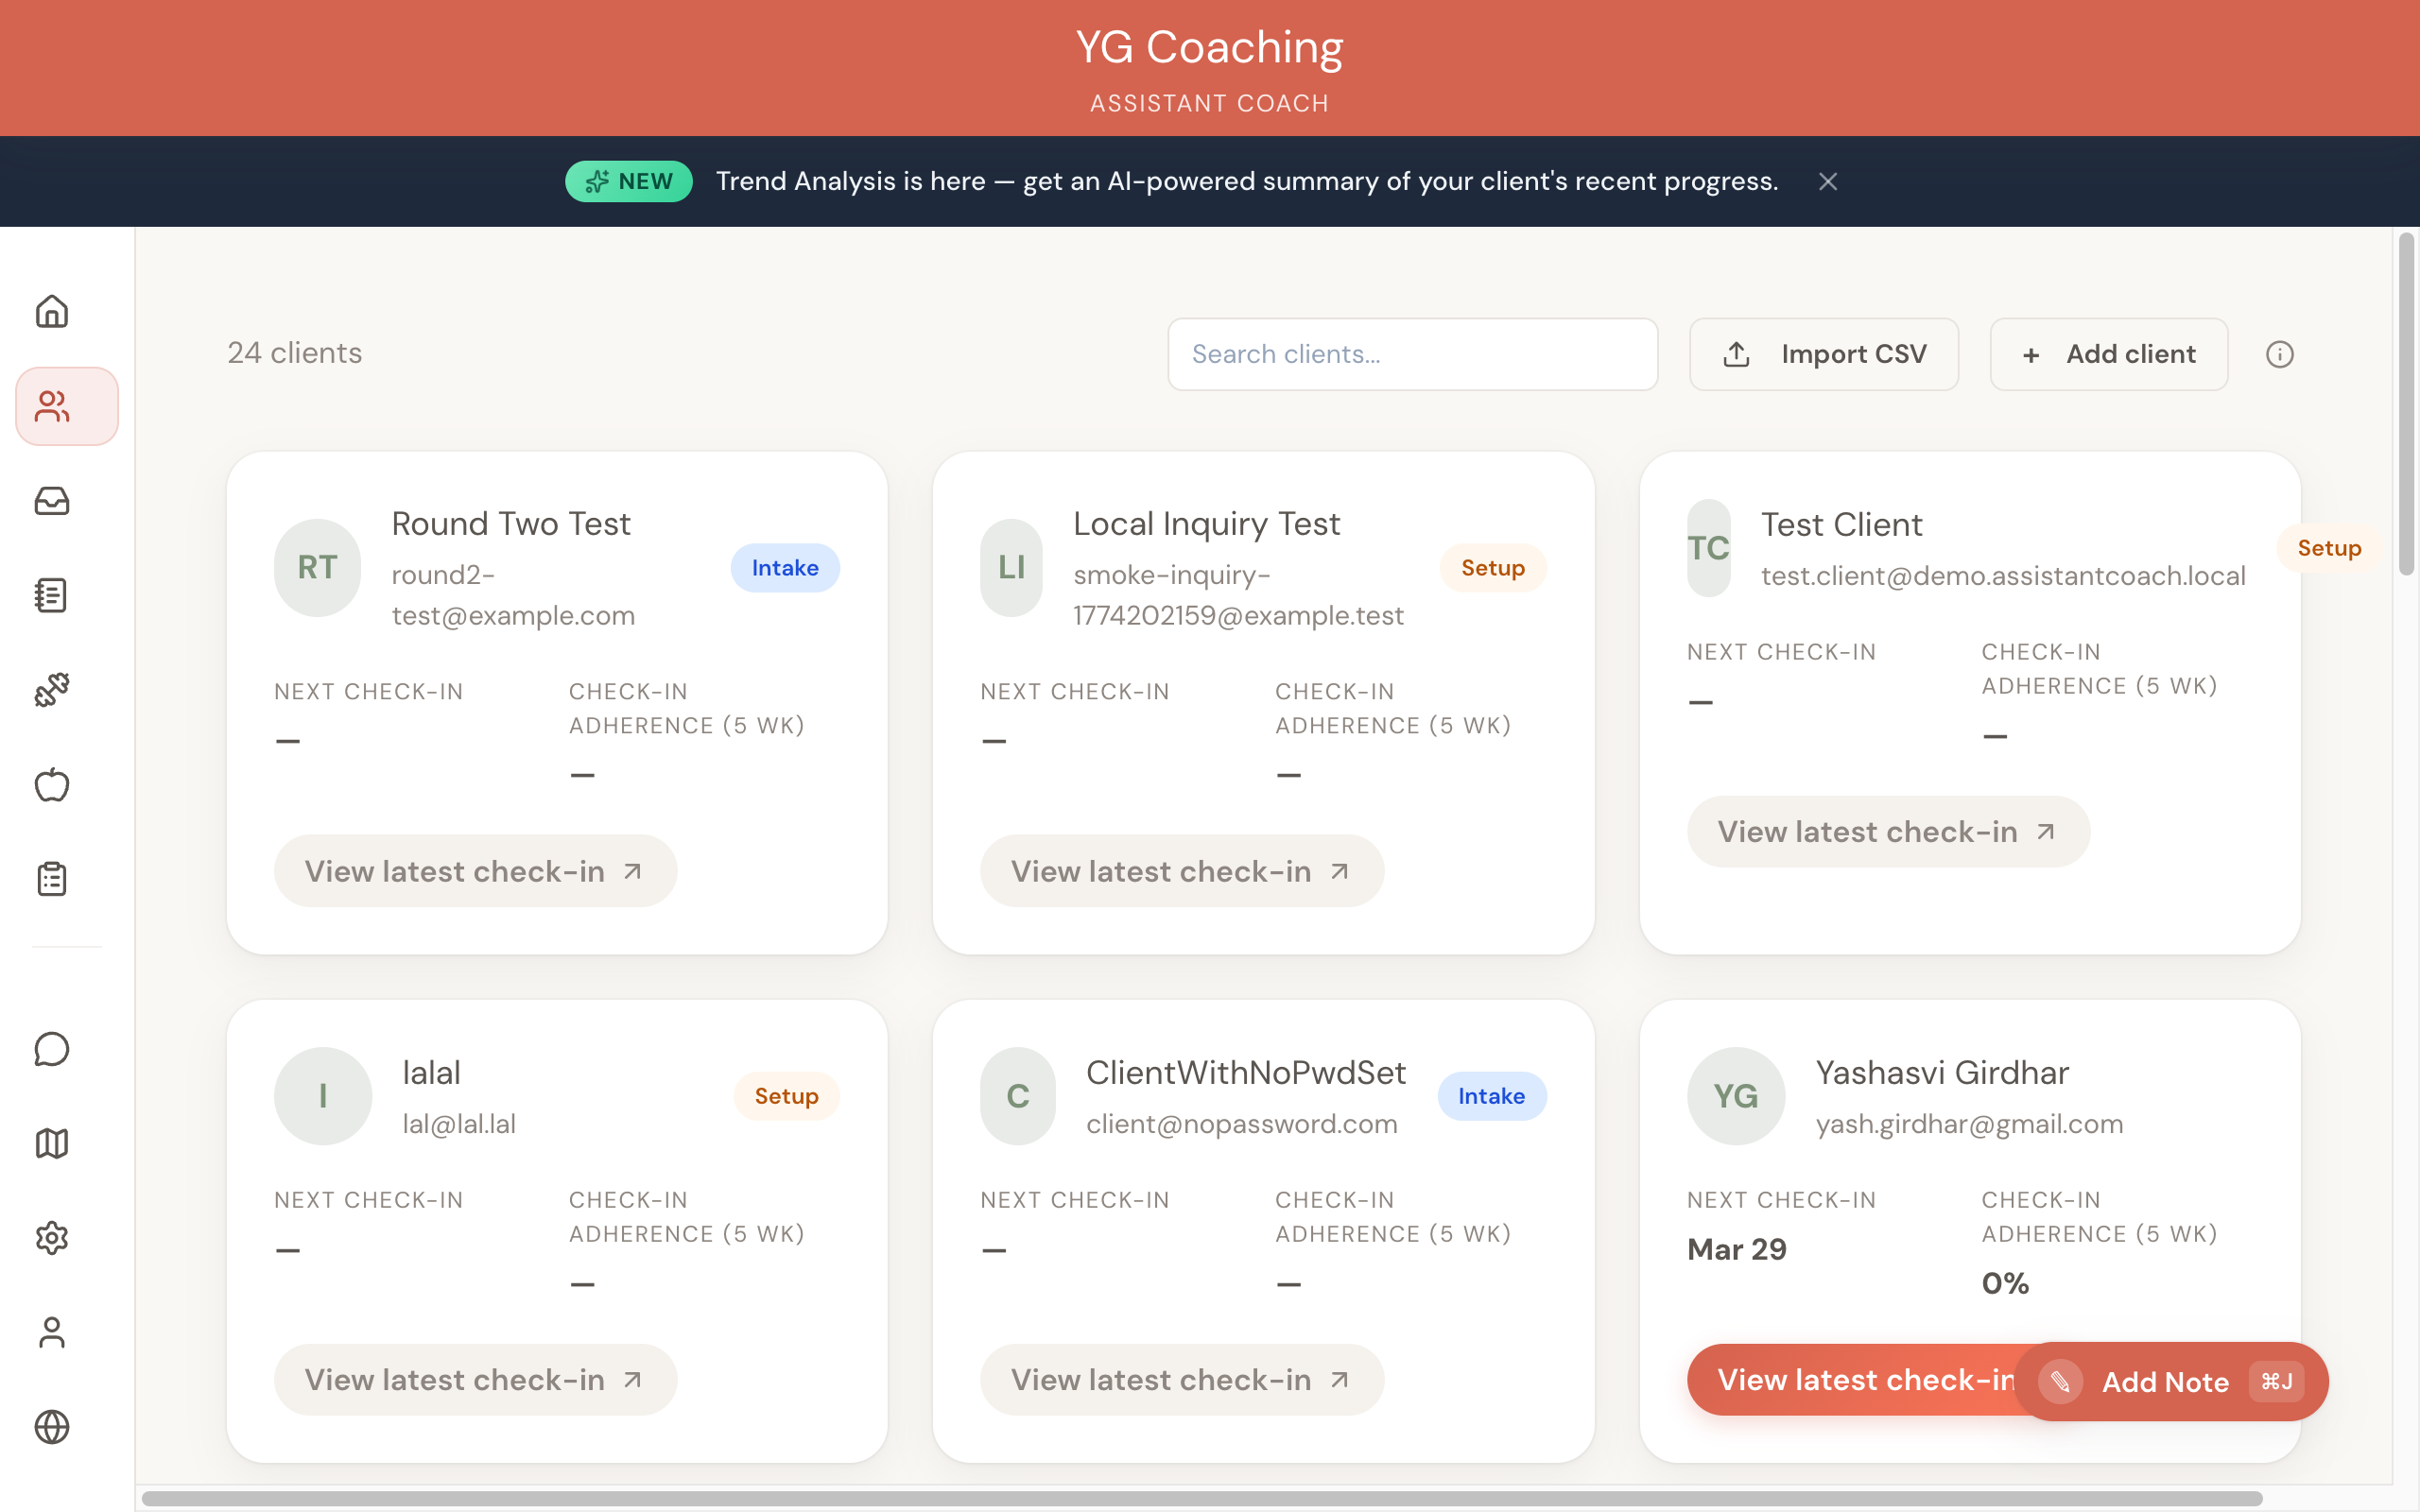
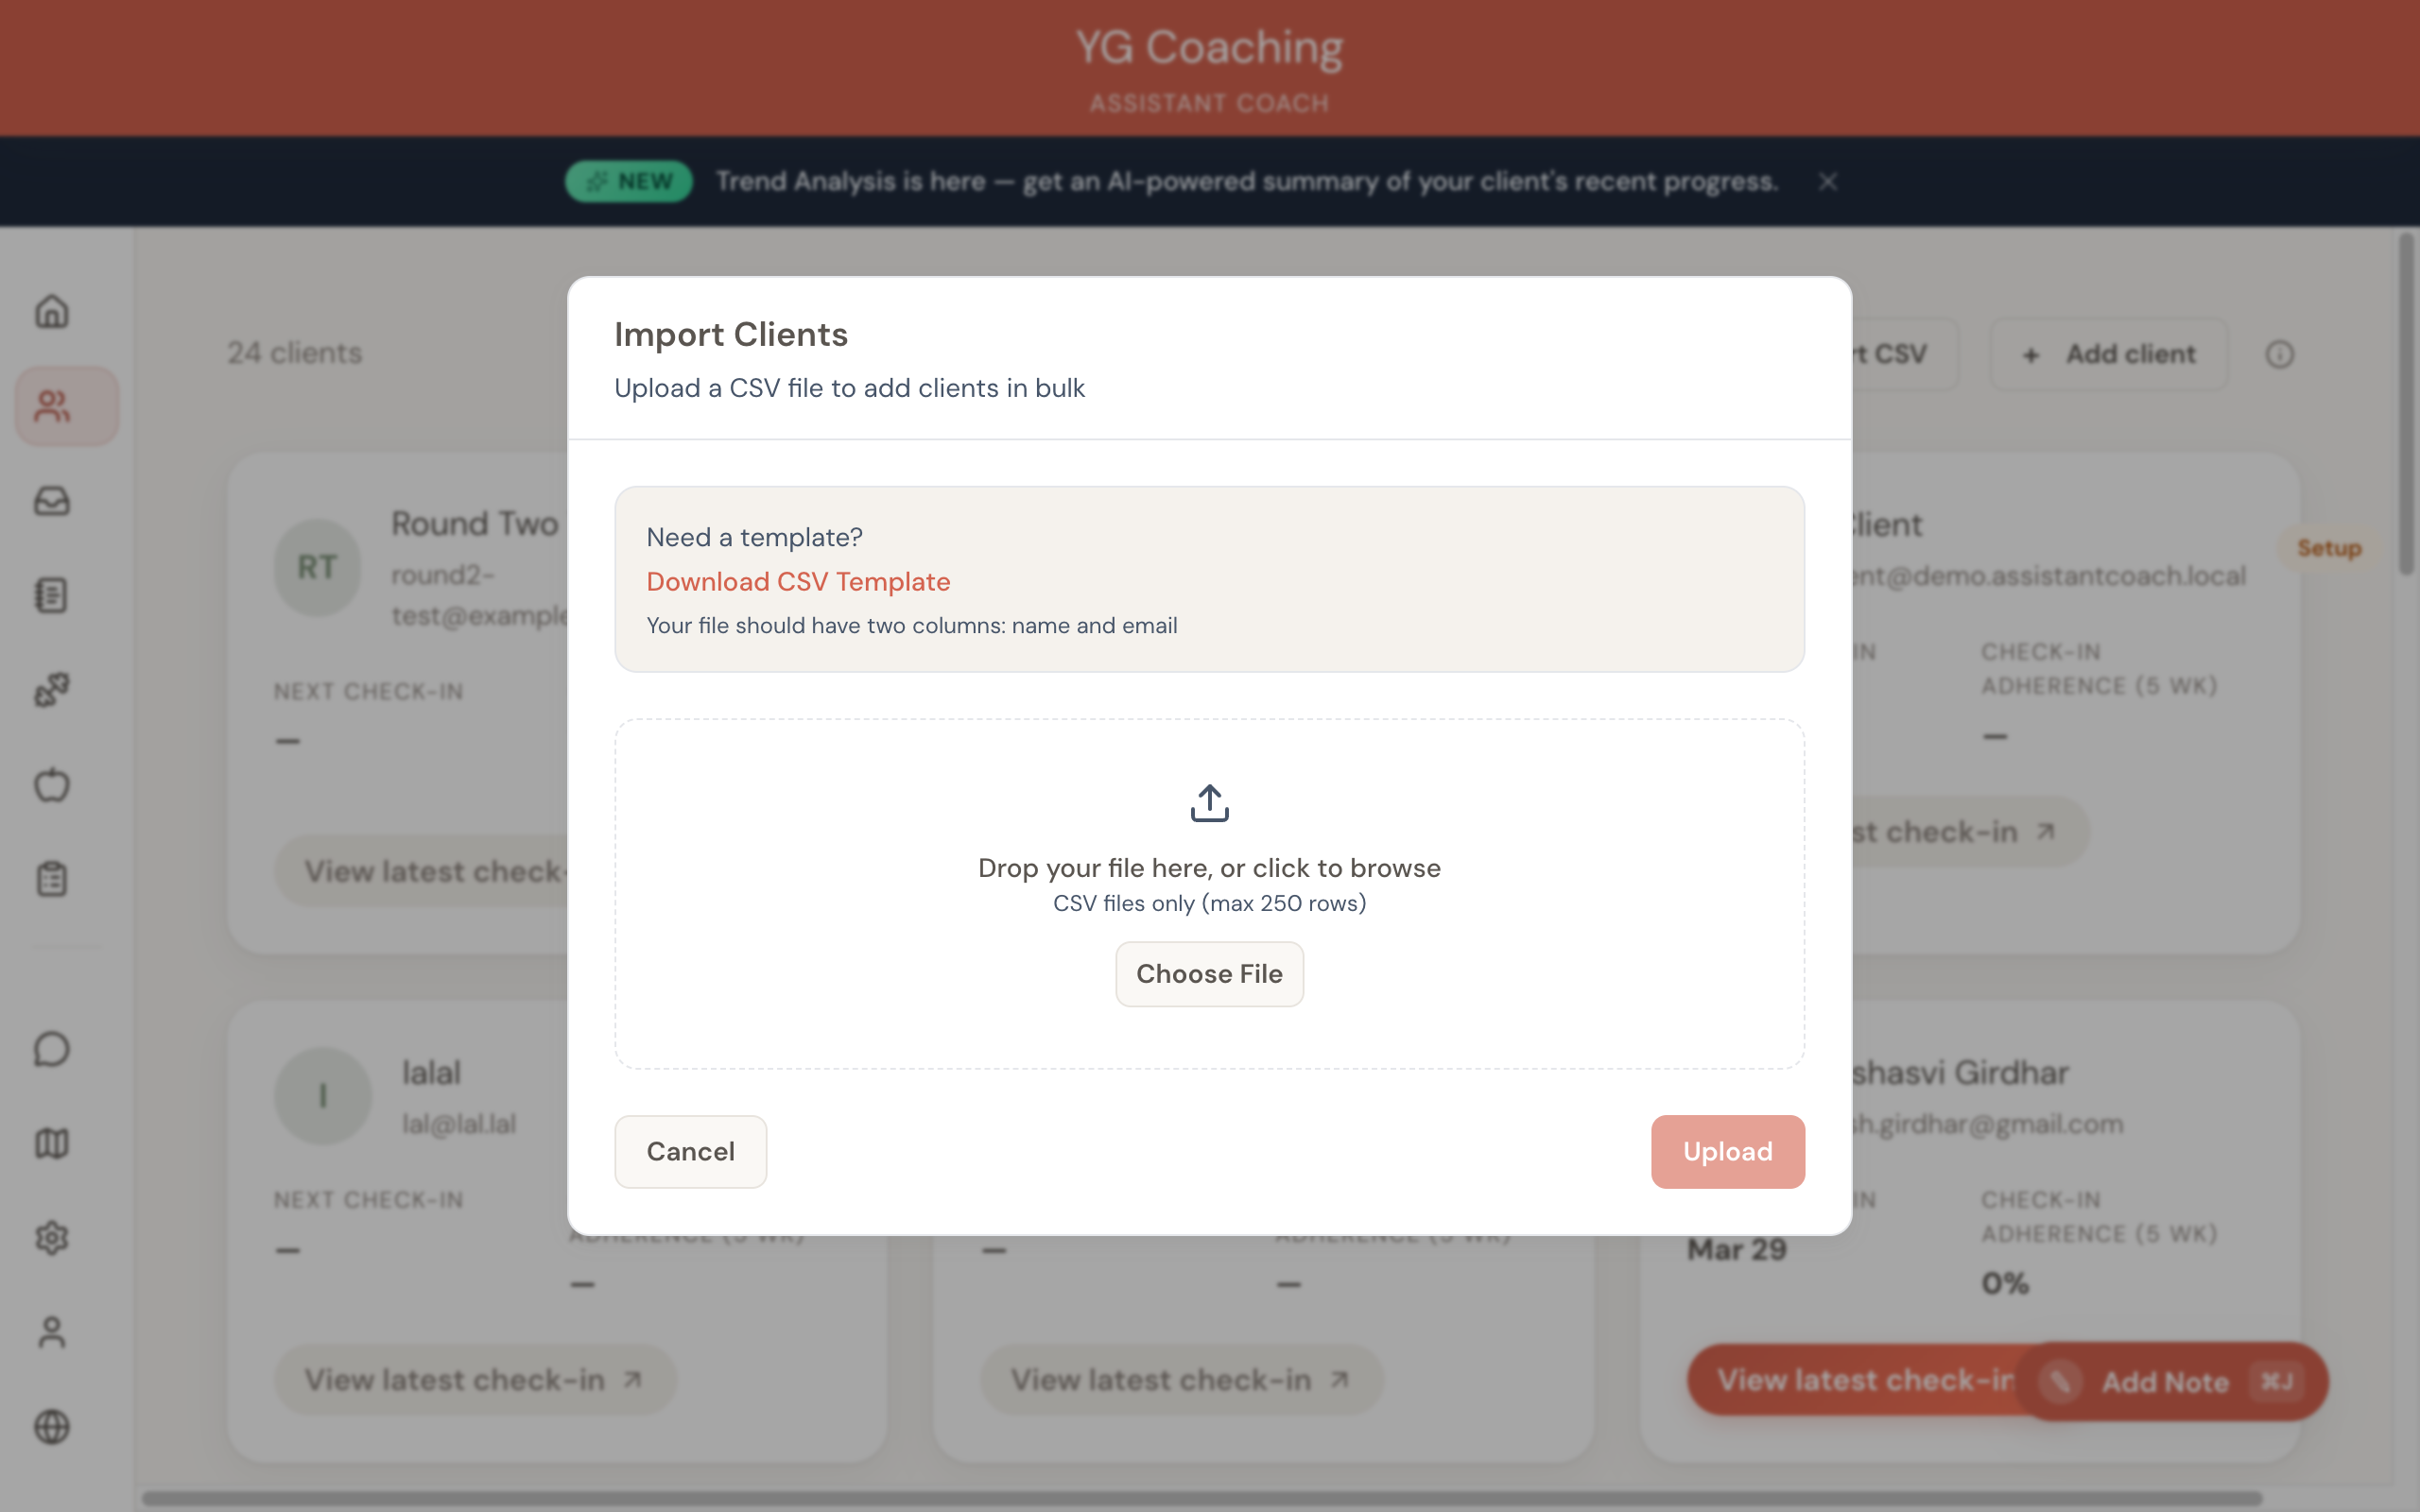
nameandemail. Remove any other columns or rename them to match. - In Assistant Coach, go to Clients and click Import CSV
- Upload your file. You can also download our CSV template from the import modal.
All imported clients start in the Active stage with full portal access. You can change individual clients to Intake if you want them to fill out an intake form first.
For full details, see Adding Clients.
Step 2: Recreate your forms
Your Google Forms intake questionnaire and weekly check-in form need to be rebuilt in Assistant Coach's form builder. The process is straightforward: map your existing questions to the right field types.
- Go to Forms and click New Form (or start from a starter template)
- Choose the form type: Intake for your onboarding questionnaire, Check-in for the weekly form
- Add your questions as fields:
- Standard metrics (weight, waist, sleep, steps) map directly to system fields that feed into charts and trend analysis
- Custom questions (text, number, dropdown, checkbox, file upload) cover everything else
Tip: Start with a starter template and customize it. It's faster than building from scratch, and you'll see how the form builder works as you edit.

For full details, see Form Templates.
What maps where
| Your Google Form question | Assistant Coach field type |
|---|---|
| Body weight | Standard metric: Weight |
| Waist/chest/hip measurements | Standard metrics: Waist, Chest, Hips |
| How many days did you train? | Standard metric: Days worked out |
| Average hours of sleep | Standard metric: Average sleep |
| How are you feeling? | Custom: Textarea |
| Rate your energy 1-10 | Custom: Number |
| Progress photos | Custom: File upload |
| Any injuries or pain? | Custom: Textarea |
Step 3: Set up your libraries
If you track custom exercises or foods in spreadsheets, import them now. This is a one-time setup that makes building meal plans and workout plans faster for every client.
Exercise library
Assistant Coach comes with 180+ common exercises. If you have custom exercises (e.g., specific variations, client-favorite movements), you can:
- Import via CSV — Click Import CSV/Excel in the Exercise Library. Format: name, muscle group, equipment, sets, reps, rest.
- Add individually — Click + Create Exercise for one-off additions.
- Private Library — Your custom exercises are kept separate from the global library so they don't get mixed up.

For full details, see Exercise Library.
Food library
If you use specific foods in your meal plans that aren't in the default library (e.g., regional foods, specific supplement brands), add them now:
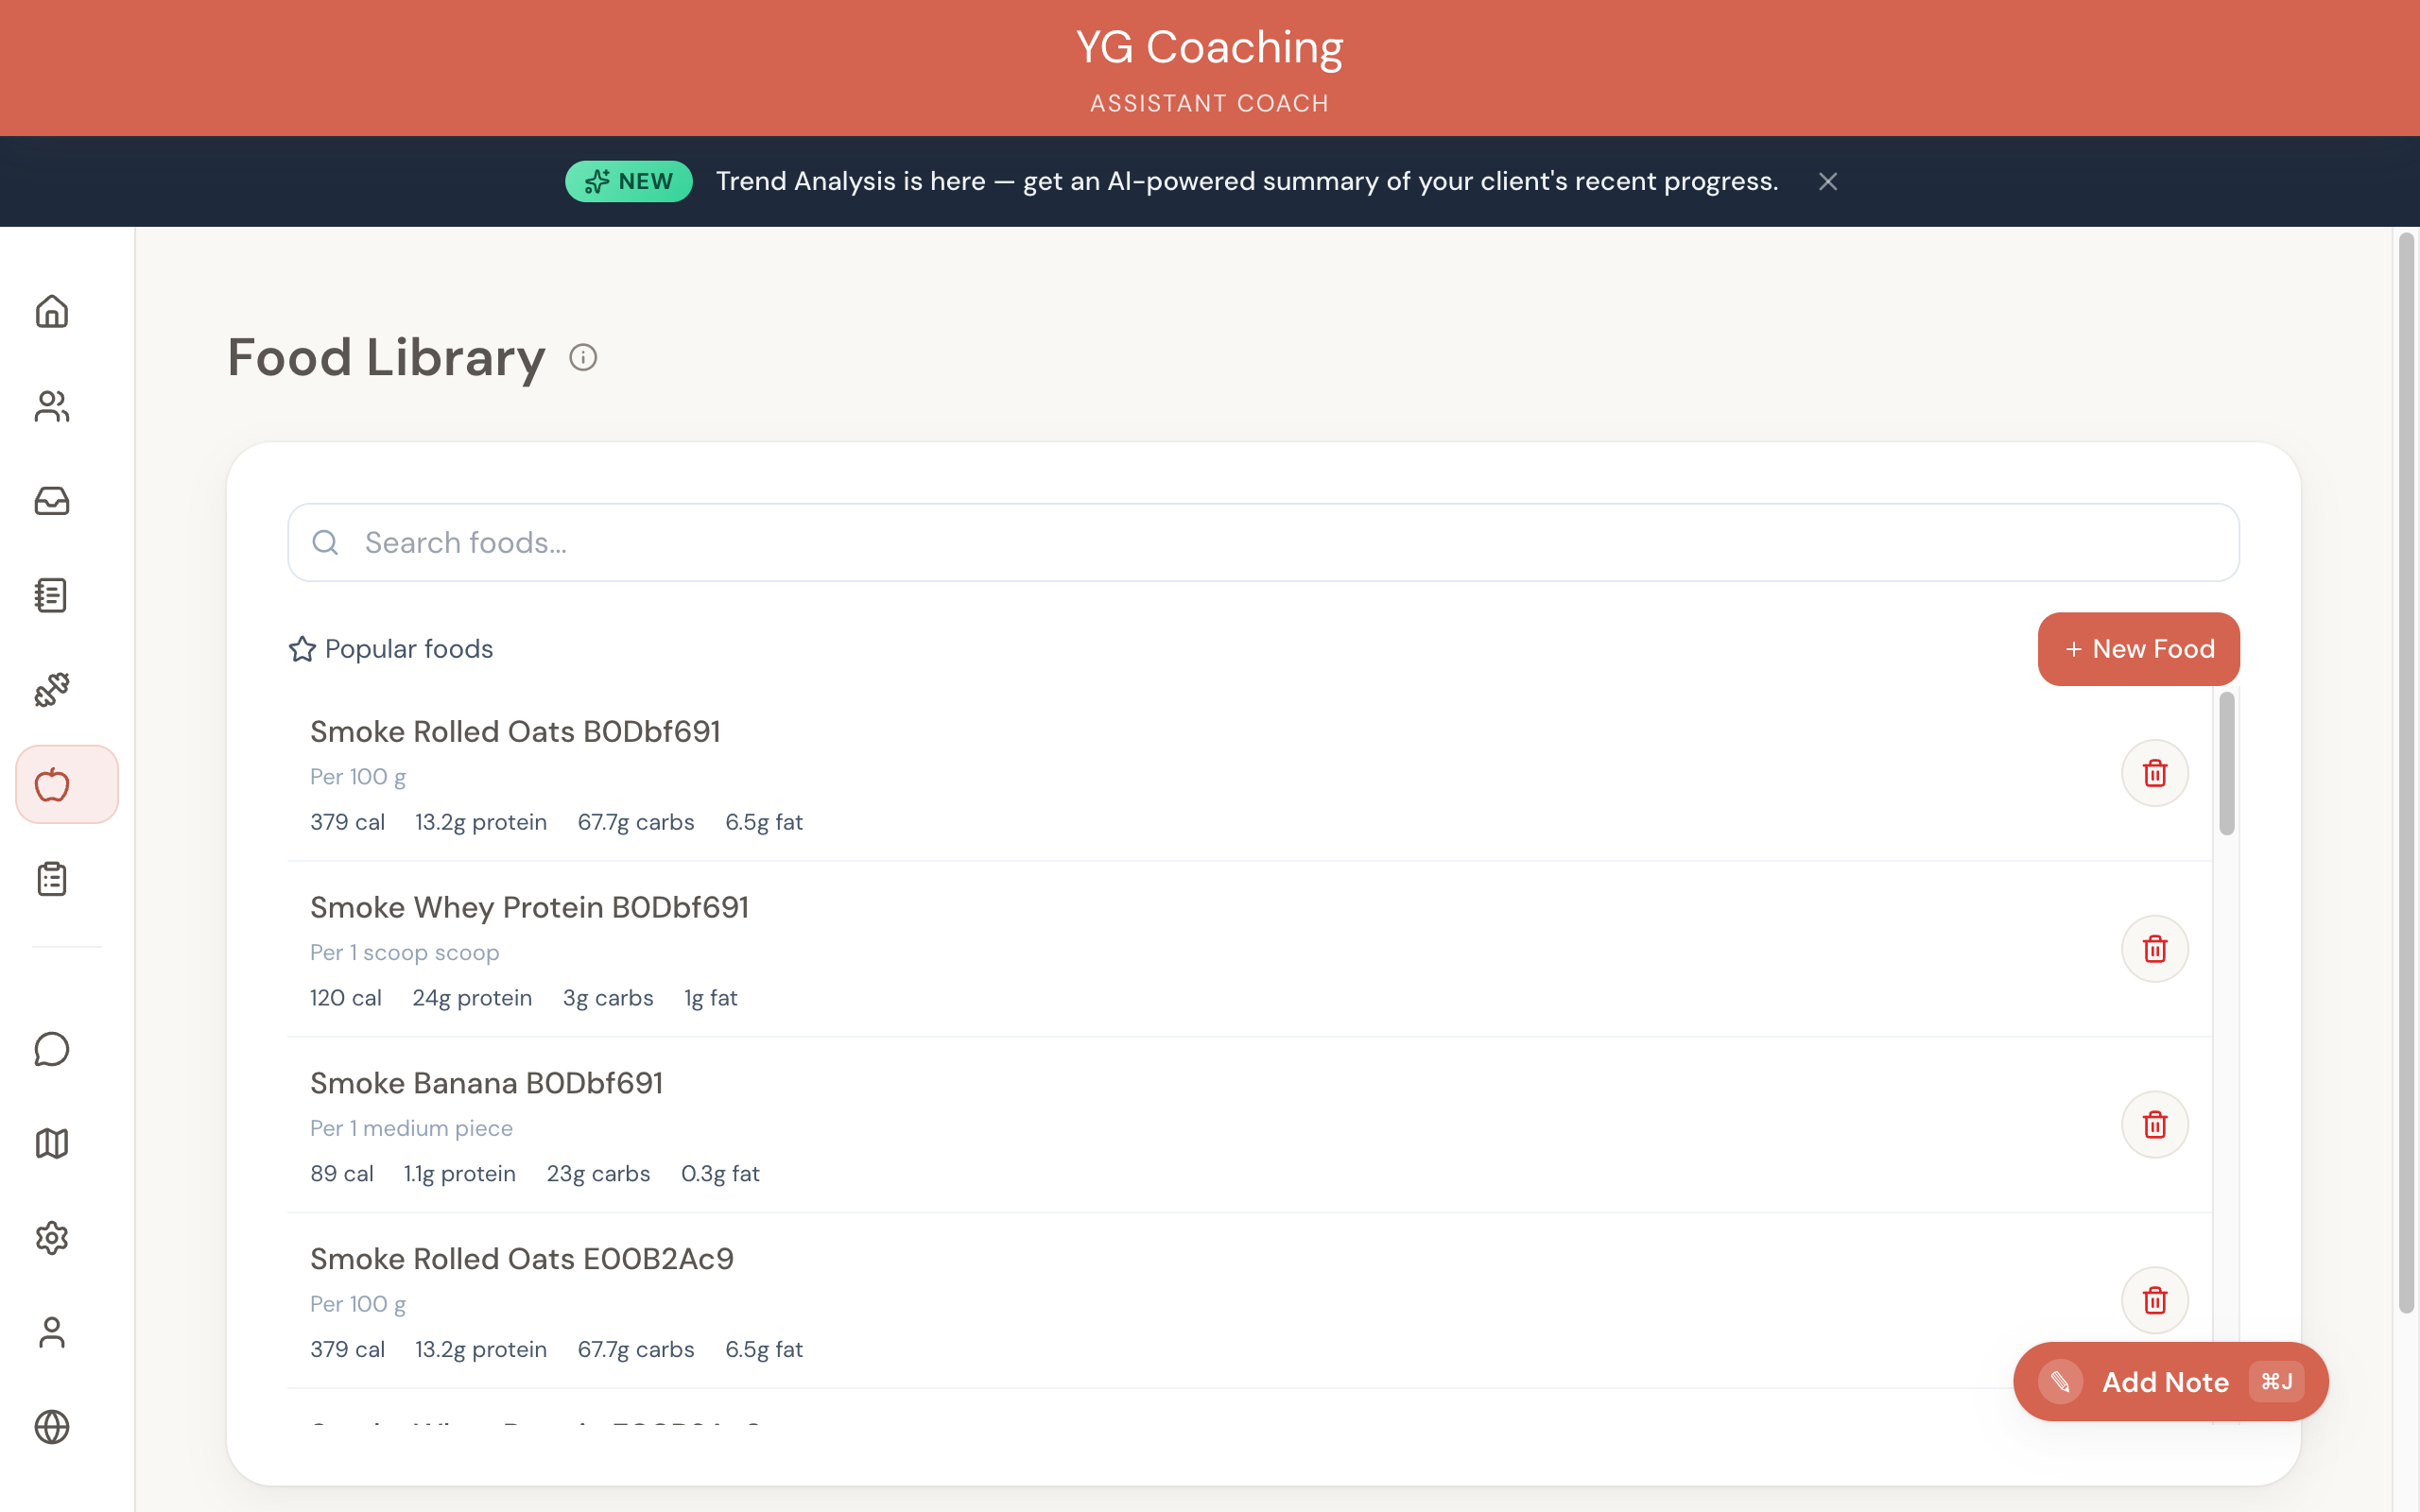
- Click + New Food in the Food Library
- Enter the name, serving size, and macros (calories, protein, carbs, fat)
- The food is immediately available when building any client's meal plan
For full details, see Food Library.
Step 4: Build your first client's plans
Pick one client as your test run. Create their current meal plan and workout plan in Assistant Coach. This gets you comfortable with the workflow before doing it for everyone.
- Open the client's dashboard
- Go to the Meal Plans tab and create their current plan
- Go to the Workout Plans tab and create their current program
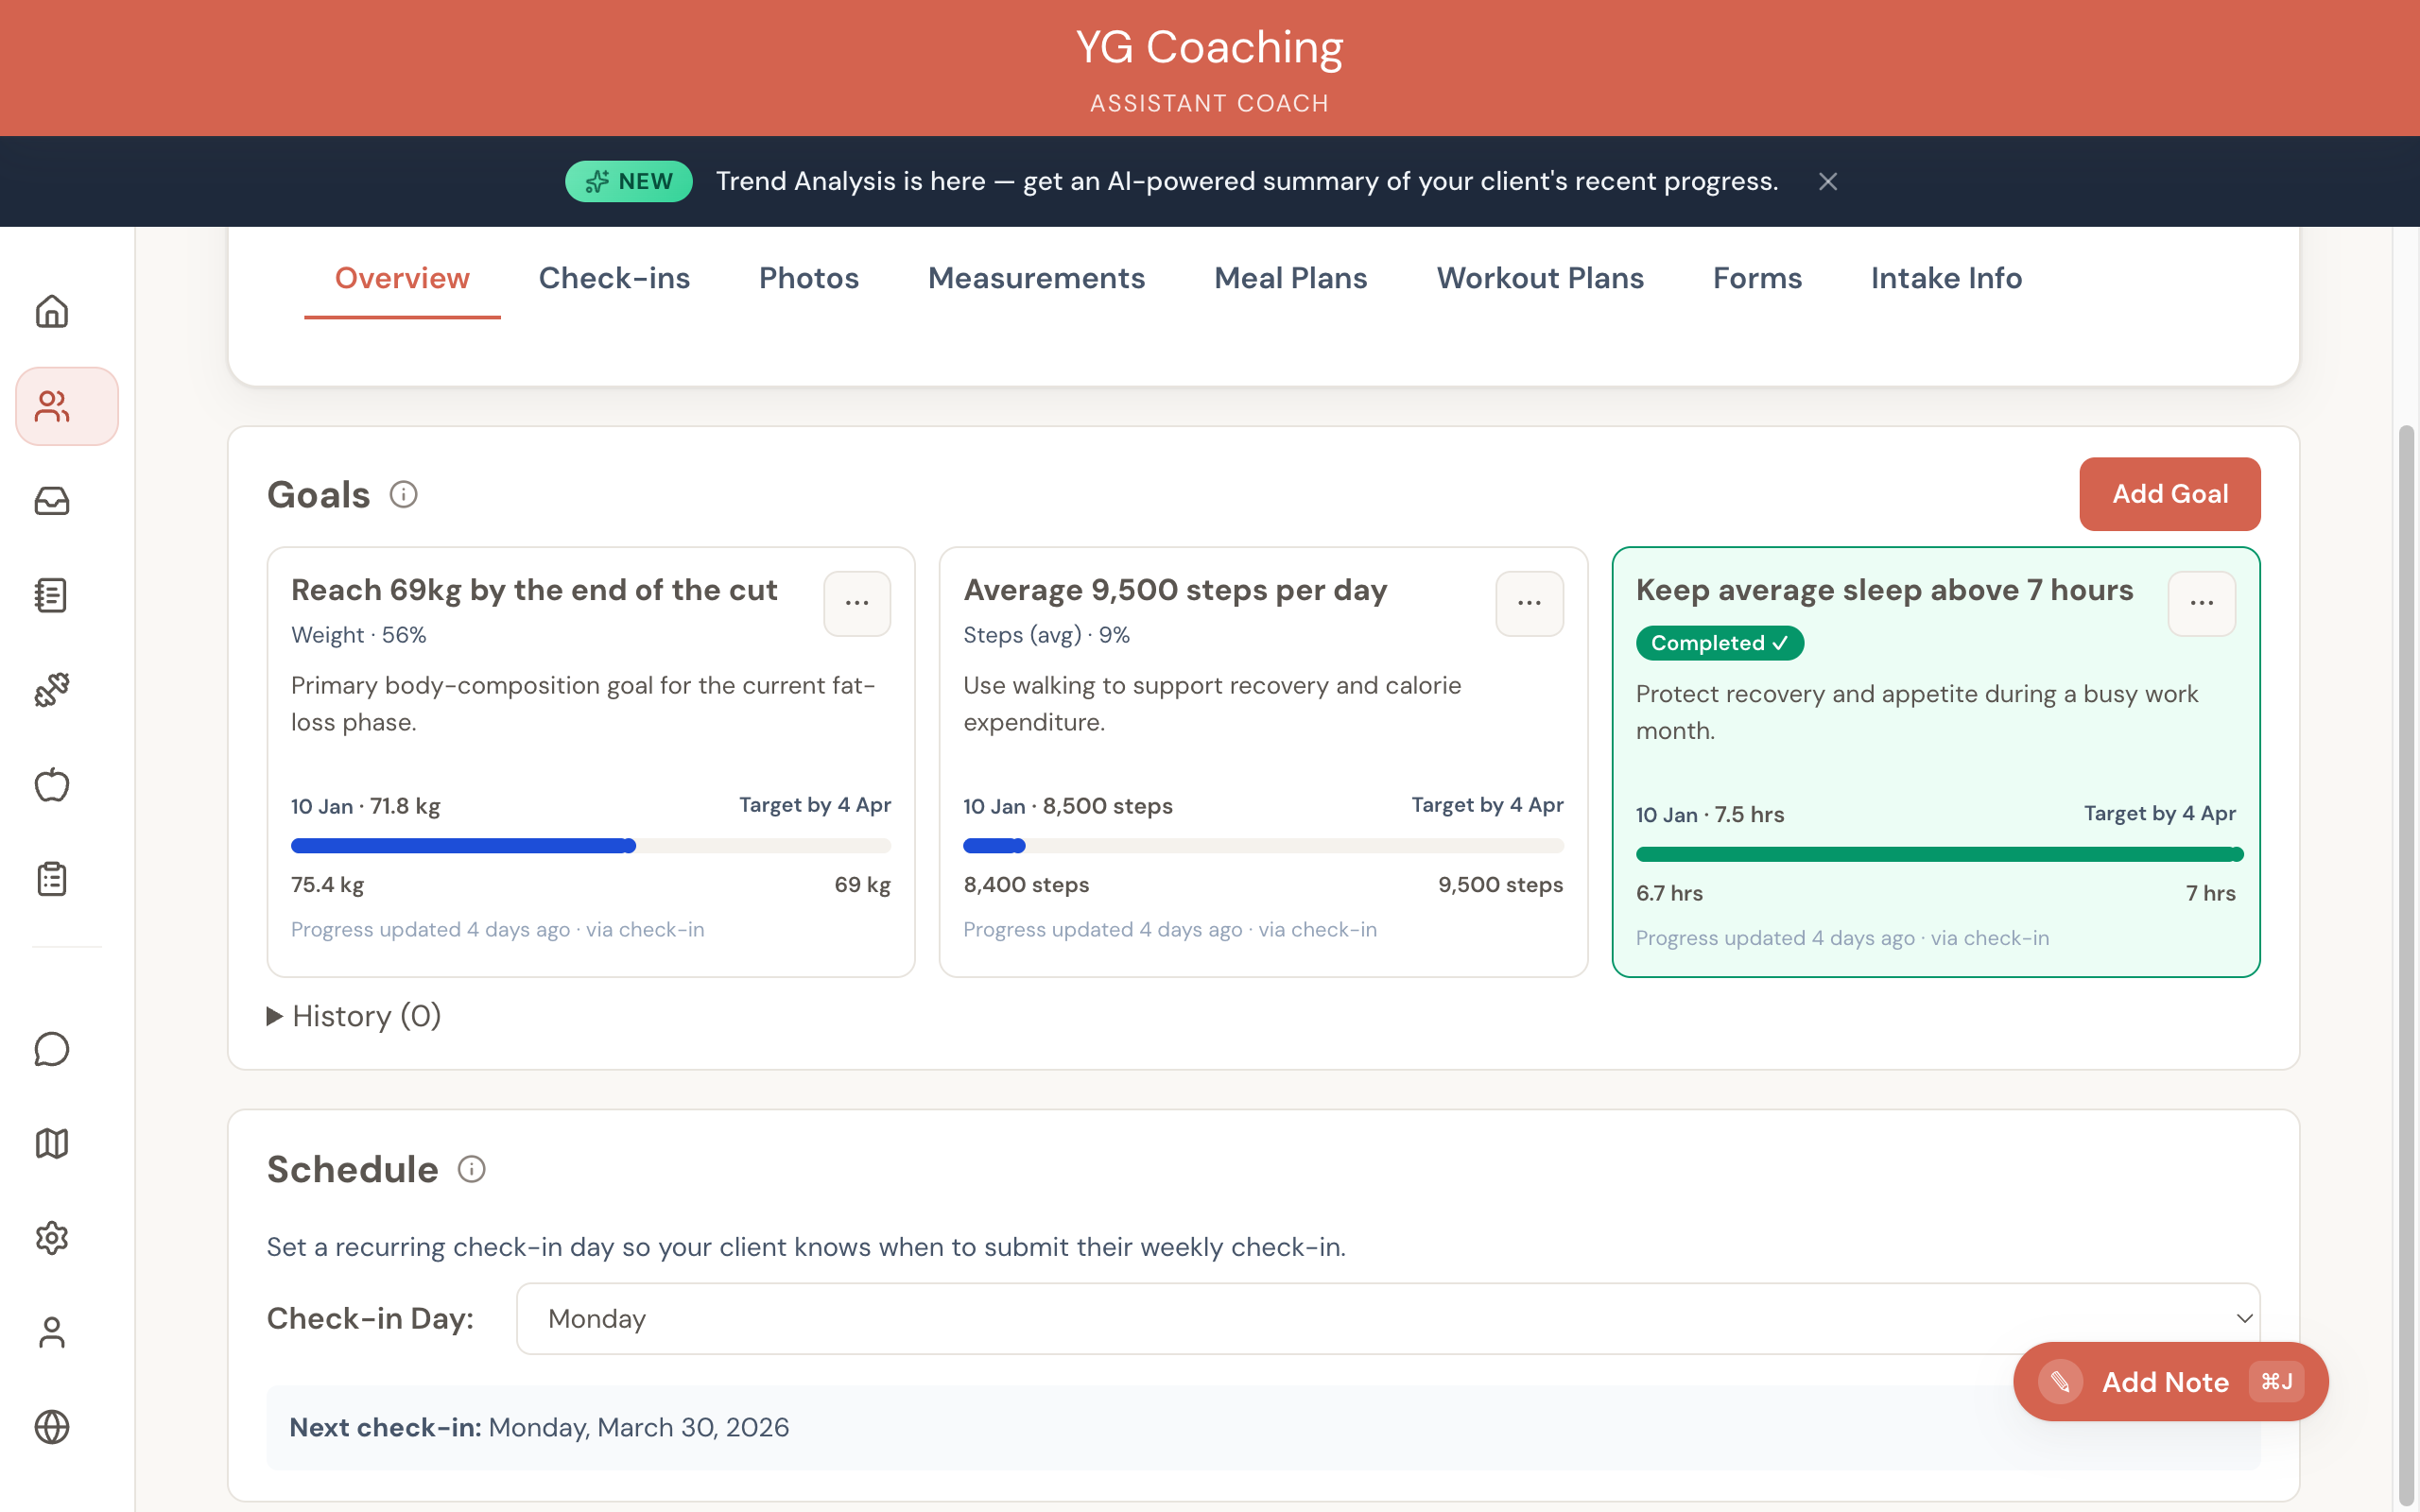
- Review the Overview tab to see how everything comes together: goals, check-in schedule, and plans all on one page
Tip: Once you've built one client's plans, you can duplicate them as a starting point for similar clients. This saves significant time when migrating a full roster.
For full details, see Creating Meal Plans and Creating Workout Plans.
Step 5: Tell your clients
Send this message a few days before the switch:
"I'm upgrading the system I use to manage your coaching. Starting next week, you'll have your own portal where you can see your meal plan, workout plan, check-in history, and my feedback all in one place. You'll get a login link from me. The check-in process stays the same, just submit through the new portal instead of Google Forms."
Your clients will receive an email invitation when you set them to Active or Intake stage.
Step 6: Run in parallel
For the first week, process check-ins through Assistant Coach alongside your spreadsheet.
- Move 5-10 clients fully to the new system first. Start with easygoing clients.
- For clients who are mid-program, don't rebuild their entire plan history. Build their current week's plan forward.
- Verify that check-in data is landing correctly and responses are going out.
Step 7: Complete the move
Migrate remaining clients and stop updating the spreadsheet. Keep it as a read-only archive, but all new data goes into Assistant Coach.
What you don't need to migrate
- Historical check-in data — Your Google Forms responses stay in your Google account. You can reference them anytime.
- Old meal plan versions — Start fresh with current plans. The spreadsheet archive has the history if you need it.
- Google Drive photos — Going forward, clients submit progress photos through the check-in form and they're stored with the client profile automatically.
The goal is that going forward, everything lives in one system. Your old data is an archive. Your new data is a coaching tool.
Tips
- Start on a Monday after you've cleared the previous week's check-ins
- Move easygoing clients first — they'll give you honest feedback without panicking
- Use starter templates for forms — customize rather than build from scratch
- Duplicate plans for similar clients rather than rebuilding from scratch each time
- Keep the spreadsheet read-only — don't delete it, but don't update it either