Measuring Guide for Your Clients
A tape measurement only tells you something if it's taken at the same spot, the same way, every time. A waist measured 3 cm higher one week can look like progress that isn't there, or hide progress that is.
So wherever your clients are asked for tape measurements, they get a short guide showing exactly where to put the tape: a close-up photo of each spot and three tips. It's built into Assistant Coach, so there's nothing for you to set up, write or link to.
What your clients see
On their intake
Where your intake asks for tape measurements, your client sees a card with three close-up photos (chest, waist and thigh) and How to take your measurements underneath.
On their check-ins
On a check-in, the guide is a single link under the measurements section's title: How to take your measurements.
When they log measurements from Home
Clients can also log measurements between check-ins from Home › Measurements. When they open Waist, hips and more in the Log measurements sheet, the same How to take your measurements link appears under the fields. The guide opens on top, and when they close it every number they've typed is still there.
The guide itself
Tapping the card or the link opens the guide, with a close-up of the tape at each of six spots, head to toe. All six spots always show, even if your form asks for only some of them.
There's a Women | Men switch, so your client can see the examples that match them. It starts on Women, and their choice is remembered on their phone. It's the same choice as in the progress photo guide, so they only pick once.
These are the examples your clients see, with the line under each spot:
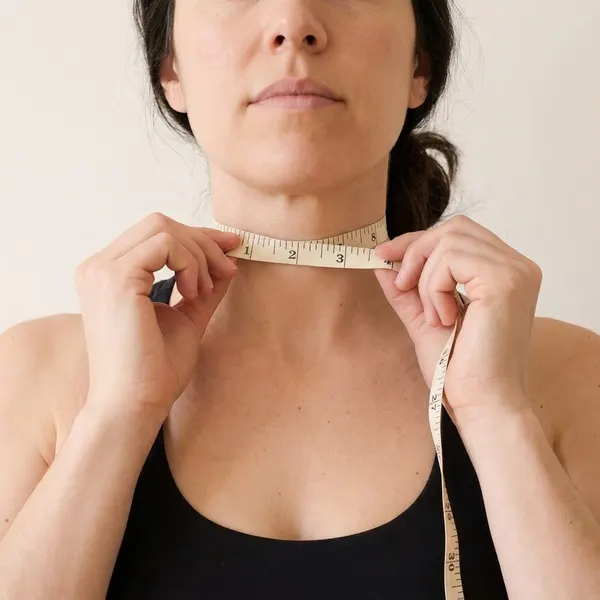 NeckJust below the Adam's apple
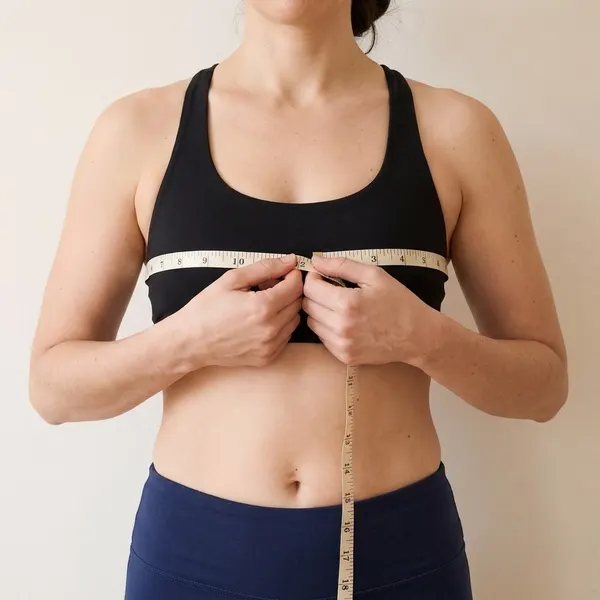 ChestFullest part, arms down
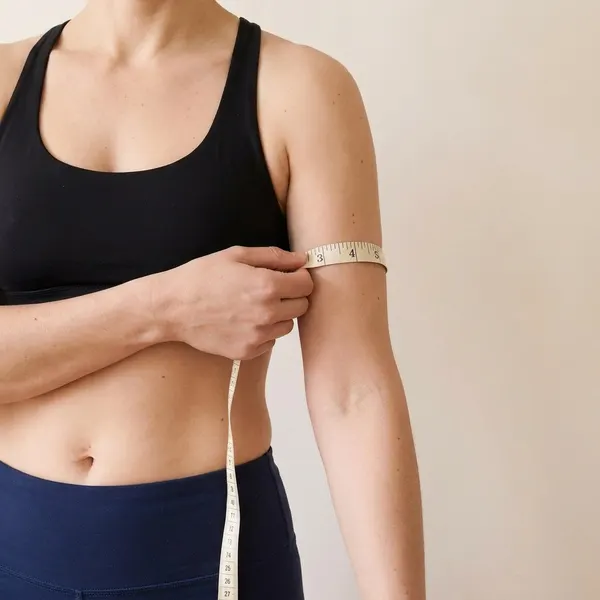 ArmHalfway, shoulder to elbow
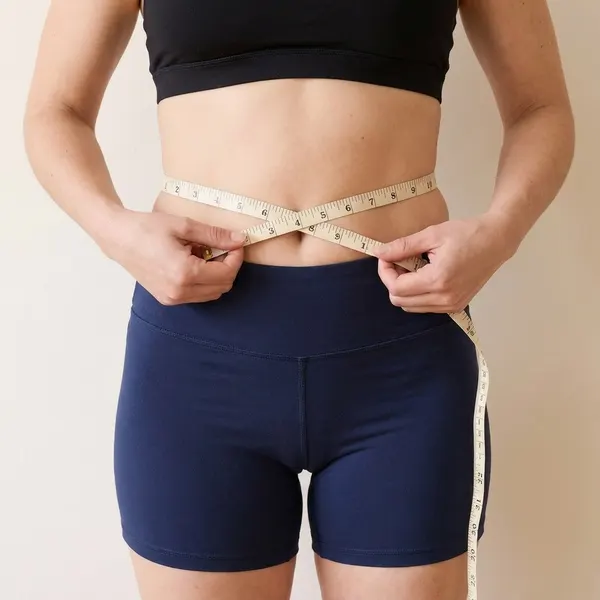 WaistLevel with your belly button
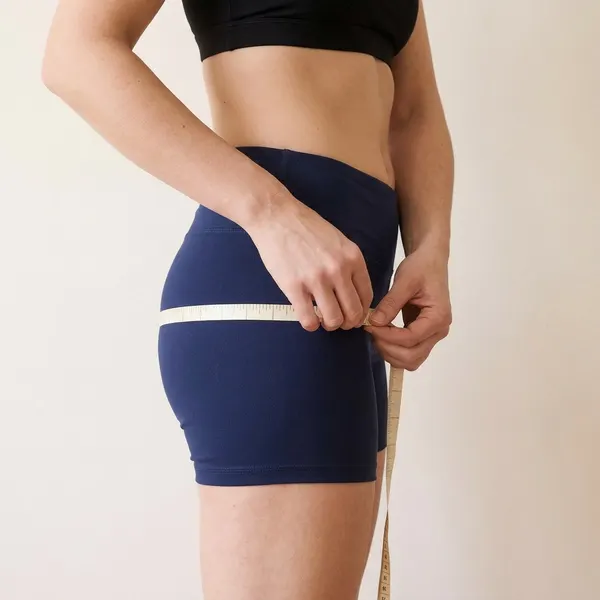 HipsWidest part of your bottom
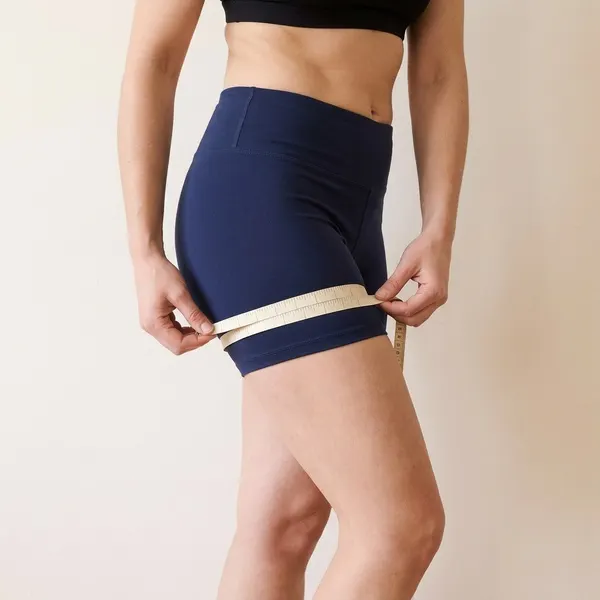 ThighWidest part, just below your bottom
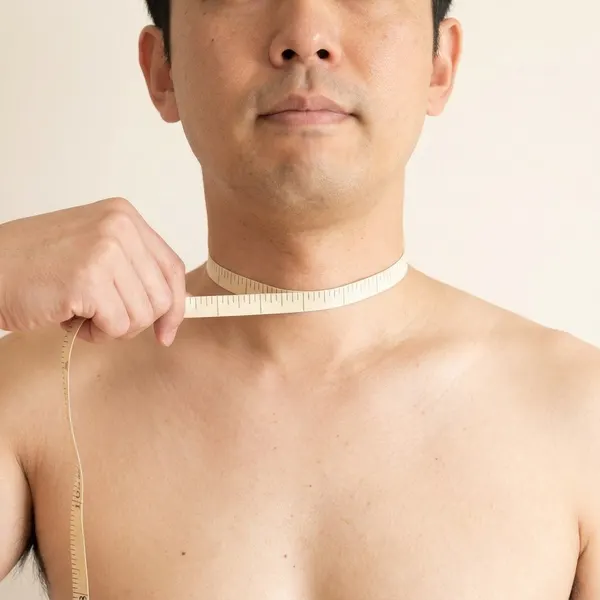 NeckJust below the Adam's apple
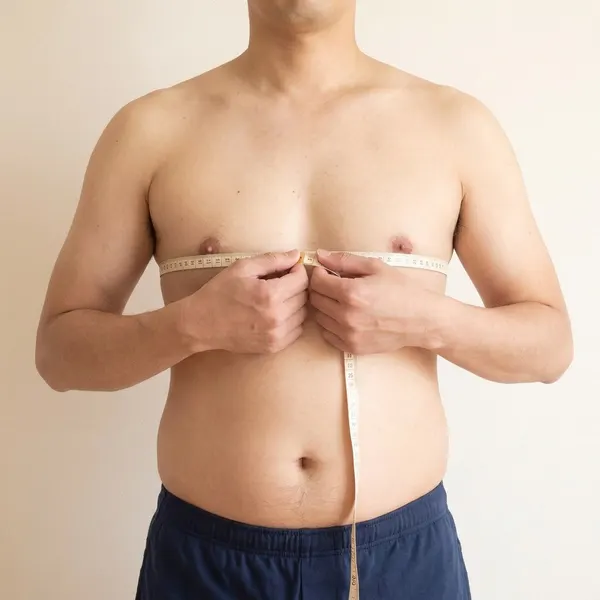 ChestFullest part, arms down
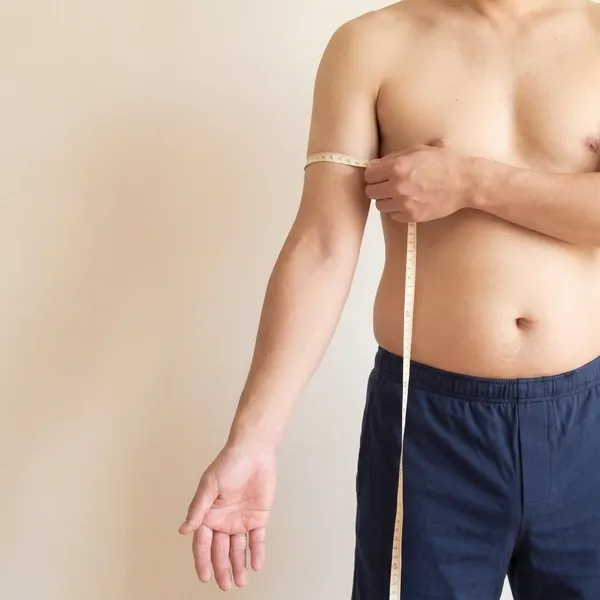 ArmHalfway, shoulder to elbow
 WaistLevel with your belly button
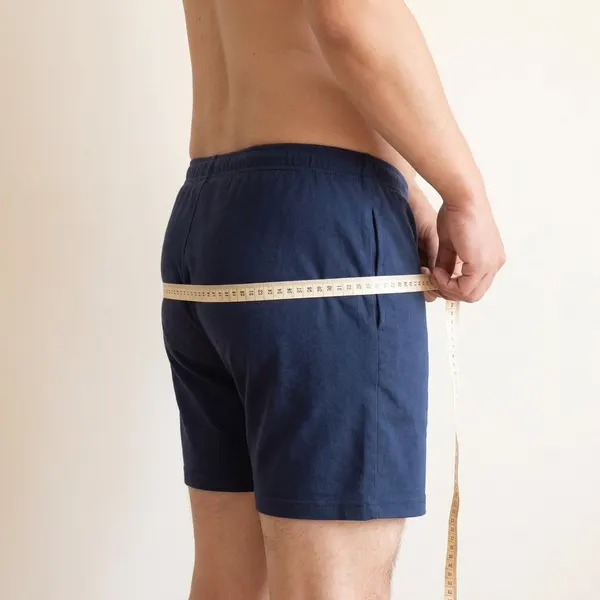 HipsWidest part of your bottom
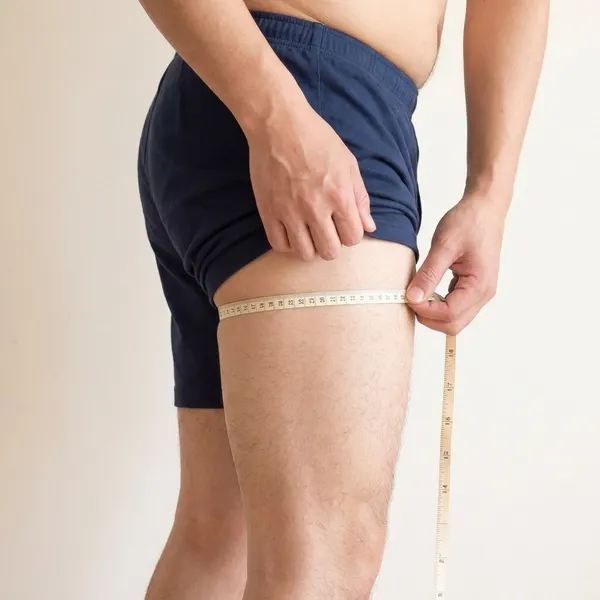 ThighWidest part, just below your bottom
Under the photos are three tips:
- In the morning, before eating, at the same time each week.
- Tape flat and snug, not tight, and level all the way round.
- Stand relaxed with feet together. Breathe out normally; don't flex or pull your stomach in.
The spots are checked against standard measuring guidance (ACE, ACSM, WHO). Where those differ, the guide uses the spot a client can find the same way on their own every week, such as the belly button for the waist. The example photos are illustrations made for the guide, not real clients.
Who gets it
Every coach, on every plan. It appears automatically on any intake, check-in or custom form that includes one of the built-in tape measurements (Neck, Chest, Arm, Waist, Hips or Thigh), and in every client's Log measurements sheet. Your existing forms already show it.
A few things to know:
- Weight has no guide. A section that asks only for weight doesn't show the link.
- Your own instructions stay. If the measurements section already has your own text, your client sees it first, with the guide just below. If your text links to an outside article about measuring, you can remove that link now if you like.
- One guide per form. If a form has tape measurements in more than one section, the guide shows on the first one.
See it for yourself
- Go to Forms.
- Click Preview on an intake or check-in that asks for tape measurements.
- The preview opens in a new tab, exactly as your client sees it. Click the card or the link to open the guide.
Using it in your coaching
- Mention it when you onboard a client. "There's a guide on the measurements question showing where to put the tape. Use the same spots every time so we're comparing like with like."
- Check before you react to a jump. If a measurement moves a lot in one week, ask the client to open How to take your measurements and re-measure before you change anything in their plan.
Related guides
- Progress Photo Guide for Your Clients -- the same kind of guide for progress photos
- Section Cadence -- ask for measurements every few weeks instead of every check-in
- What Your Clients See -- the whole client app from your client's side